
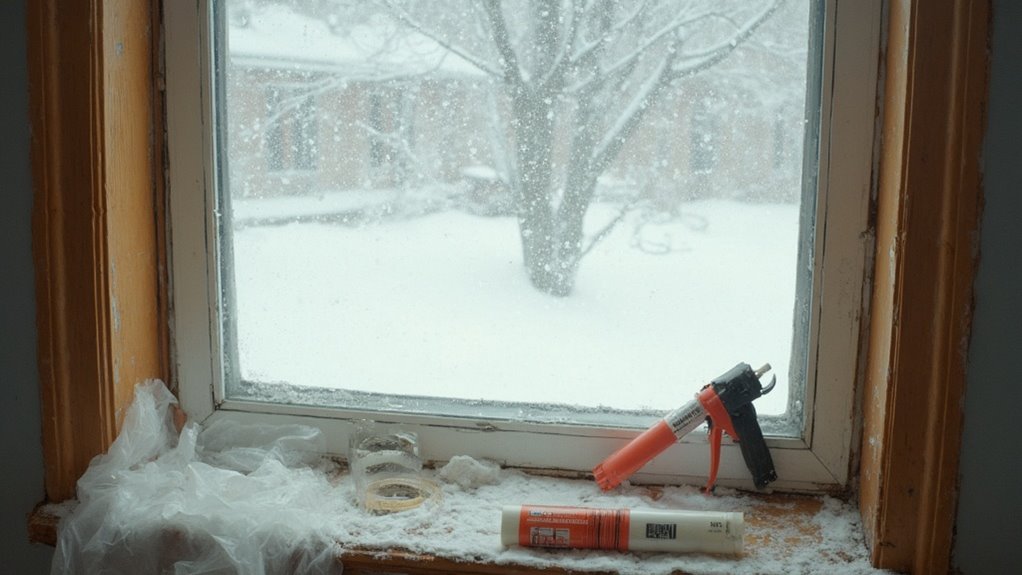
Keep your home cosy this winter by addressing common window issues that lead to heat loss. Start by checking for draughts, condensation and visible gaps around frames. You'll need basic tools like sealant, weatherstripping and window film to seal these trouble spots effectively. Focus on thorough cleaning and precise application of materials for the best results. For maximum protection, consider combining multiple solutions like thermal curtains and secondary glazing – there's more to discover about winterising your windows properly.
Common Signs of Window Heat Loss
Common signs of window heat loss in your home present themselves through distinct signals when draughty windows compromise your energy efficiency.
Place your hand near the window frame – if you feel cold air seeping in, that's a telltale sign of heat loss.
Watch for condensation forming between window panes, which indicates seal failure. You might notice your curtains moving slightly, even when all windows are closed.
Higher energy bills and cold spots near windows are other warning signs. If frost forms on the inside of your windows or you spot visible gaps in the caulking, your windows aren't performing as they should.
Trust your senses – if you're feeling chilly despite the heating running, your windows may be the culprit.
Essential Tools and Materials for Window Weatherproofing
Before tackling any window winterising project, gathering the right tools and materials will guarantee you're well-equipped for success.
You'll find that proper window insulation starts with having essential supplies within arm's reach to boost your home's energy efficiency.
Your basic weatherproofing toolkit should include:
- Measurement tools: measuring tape, pencil, and utility knife for precise fitting of materials
- Sealing materials: weatherstripping tape, silicone sealant, and window film kits
- Application tools: sealant gun, hair dryer (for shrink film), cleaning supplies, and a putty knife
Don't forget to pick up a few extra materials – you'll be grateful to have spares if you need to redo a section.
Sealing Window Air Leaks With Caulk
When cold air seeps through window gaps, proper caulking becomes your first line of defence against draughts and energy waste. Before you begin sealing, you'll need to understand which caulk type works best for your specific window situation.
| Caulk Type | Best Application |
|---|---|
| Silicone | Exterior/glass/metal |
| Acrylic Latex | Interior/wood/plasterboard |
| Polyurethane | Expansion joints |
| Butyl Rubber | Metal/masonry |
| Hybrid | Multi-surface use |
For the best results, start by removing old caulk and cleaning the surface thoroughly. Apply your chosen caulk at a 45-degree angle, maintaining steady pressure for an even bead. You'll want to work in sections, smoothing each bead with a wet finger or caulk-smoothing tool. Don't rush – proper technique guarantees a weathertight seal that'll last through many winters.
Installing Weather Stripping Around Window Frames
Whilst caulking addresses static gaps, proper weather stripping tackles the spaces around moving parts of your windows.
You'll find several weather stripping types available, from adhesive-backed foam to V-strip metal, each suited for different window styles and climates.
Before you begin installation, ensure your window frames are clean and dry for ideal adhesion.
Follow these essential installation techniques for the best results:
- Measure twice, cut once – take precise measurements of each window edge where you'll apply the stripping.
- Test the window's operation before permanently securing the weather stripping to avoid binding issues.
- Press firmly along the entire length of the stripping to ensure complete adhesion, working from one end to the other.
With proper installation, quality weather stripping can last several seasons whilst greatly reducing draughts and energy costs.
Adding Storm Windows and Window Insulation Film
Two effective options for adding extra insulation to your windows during cold months are storm windows and window insulation film.
Storm window benefits include creating an additional barrier against cold air whilst reducing outside noise and protecting your primary windows. They're particularly valuable for older homes with single-pane windows.
If you're looking for a more affordable solution, window insulation film offers impressive results.
For proper insulation film applications, you'll need to thoroughly clean your window frame and glass before applying the film. Using a hair dryer, carefully shrink the film until it's completely taut and transparent.
This creates an air pocket between the film and window that acts as an extra layer of insulation. You'll notice a significant difference in both your comfort level and heating bills.
Using Thermal Curtains and Window Treatments
Beyond physical barriers like storm windows and insulation film, thermal curtains and window treatments offer a stylish approach to keeping your home cosy.
When selecting thermal curtains, you'll enjoy multiple energy efficiency benefits whilst adding elegant design elements to your living spaces.
For maximum thermal curtain benefits, follow these essential tips:
- Fit curtain rods that extend 7-10 centimetres beyond window frames to prevent heat loss around edges
- Choose floor-length curtains with tight weave patterns and light-blocking layers
- Close your curtains at dusk and open them during sunny hours to harness natural heat
You'll notice the difference immediately as thermal curtains create an insulating pocket of air between your windows and living space, reducing draughts and lowering your heating costs throughout winter.
Professional Window Maintenance and Repairs
Although DIY solutions can provide temporary fixes, professional window maintenance plays an essential role in preserving your windows' longevity and performance through harsh winters. You'll want to schedule professional assessments before the cold season arrives to identify potential issues early on.
| Service Type | When to Get It | Expected Benefits |
|---|---|---|
| Seal Inspection | Early Autumn | Prevent draughts |
| Glass Assessment | Bi-annually | Identify cracks |
| Frame Repair | As needed | Maintain structure |
| Weather Stripping | Every 2-3 years | Improve insulation |
| Hardware Check | Annually | Guarantee functionality |
Professional window repair techniques can address problems you might miss, such as microscopic cracks or deteriorating glazing. A certified technician will evaluate your windows' overall condition, recommend specific repairs, and implement long-lasting solutions that will keep your home cosy throughout winter.
Cost-Effective Solutions for Winter Window Protection
Whilst professional services offer extensive protection, you needn't break the bank to keep your windows winter-ready.
DIY window solutions can be just as effective when done properly, and they'll help boost your home's energy efficiency without costly interventions.
Consider these budget-friendly approaches that'll keep the cold at bay:
- Apply clear plastic window insulation kits – they create an extra barrier against draughts and can reduce heat loss by up to 40%.
- Install foam tape weatherstripping around window frames, focusing on areas where you feel air leaks.
- Place thick thermal curtains or cellular blinds that trap air between the fabric layers.
You'll find these affordable options at your local DIY shop, and most can be fitted in a single afternoon.
Your heating bills will thank you, and you'll stay cosy all winter long.
Frequently asked questions
How Long Do Weatherproofing Solutions Typically Last Before Needing Replacement?
Most weatherproofing solutions last 3-5 years, though their lifespan depends upon your seasonal maintenance habits. Regular checks and touch-ups can extend their effectiveness, keeping your home cosy for even longer.
Can Weatherproofing Windows Affect Their Warranty Coverage?
Check your warranty carefully – DIY weatherproofing can trigger warranty limitations as it's considered a product modification. Many manufacturers specify which weatherisation methods they'll allow without voiding coverage.
Should Windows Be Weatherproofed During Specific Weather Conditions or Temperatures?
You'll want to make seasonal adjustments when it's dry and mild outside. For best results, tackle weatherproofing when temperatures are between 10-21°C, as materials bond better and you'll get proper insulation performance.
Will Weatherproofing Materials Damage Existing Window Paint or Finishes?
Most weatherproofing products won't harm your finishes if you check paint compatibility first. With proper surface preparation, such as cleaning and drying the area, you'll protect both your windows and existing paintwork.
Can Renters Weatherproof Windows Without Landlord Permission?
You'll want to check your tenancy rights first, but you can safely use temporary solutions like removable window film, draught excluders, and magnetic seals that won't damage anything or upset your landlord.