
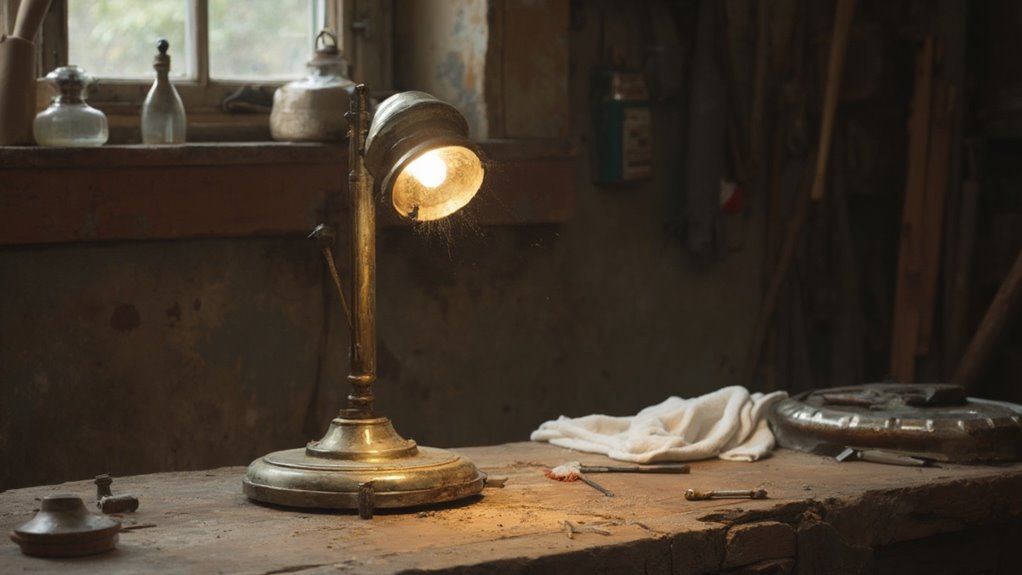
Start your vintage restoration journey with essential tools: fine-grit sandpaper, natural-bristled brushes, and protective gear. You'll need a well-lit workspace to properly assess each piece's worth, considering both sentimental value and craftsmanship. Begin with gentle cleaning methods, testing products on inconspicuous areas before full application. Whether you're rejuvenating wooden furniture or metal fittings, take time to honour the item's history. The art of breathing new life into treasured pieces awaits your careful touch.
Essential Tools and Materials for Vintage Item Restoration
Before starting on any vintage restoration project, gathering the proper tools and materials will make the difference between professional-looking results and amateur repairs.
Your tool selection should include fine-grit sandpaper, wire wool, natural bristle brushes, and clean cotton cloths. You'll also need a sturdy workbench and good lighting to inspect details properly.
Material sourcing is essential for authentic restorations. You'll want to stock up on natural cleaning solutions, wood conditioners, and period-appropriate finishes. For metal pieces, invest in quality polishes and rust removers.
Don't forget protective gear: rubber gloves, safety goggles, and a dust mask. Keep a collection of small pots for mixing solutions and testing products on inconspicuous areas.
Evaluating Your Vintage Pieces: What's Worth Saving
Now that you've assembled your restoration toolkit, determining which vintage pieces merit your time and effort comes next. Your initial value assessment should weigh both monetary worth and sentimental significance.
Consider family heirlooms, unique craftsmanship, and historical relevance whilst making your decisions. Look for items with solid construction and minimal structural damage.
Wooden furniture with dovetail joints, hand-carved details, or original fittings often deserves restoration. However, pieces with extensive water damage, active pest infestations, or compromised integrity may prove too challenging for beginners.
Don't overlook seemingly modest items – a well-crafted wooden chair or vintage picture frame can shine beautifully after proper care. Trust your judgement about which pieces speak to you, but remain practical about your skill level and available time.
Cleaning and Prepping Old Furniture
Proper cleaning and preparation form the foundation of any successful furniture restoration project. Before you begin transforming your vintage find, you'll need to understand essential cleaning techniques and surface preparation methods.
| Task | Purpose |
|---|---|
| Dusting | Remove loose debris and prevent scratching |
| Testing cleaner | Identify safe products for your timber type |
| Deep cleaning | Eliminate built-up grime and old finishes |
| Surface prep | Create ideal base for new treatments |
Start with gentle cleaning methods and gradually increase intensity as needed. You'll want to remove decades of dirt without damaging the piece's original character. Test cleaning solutions on a concealed spot first, and remember that different timber types require different approaches. Once clean, assess the surface carefully – look for loose joints, scratches, or damage that needs attention before refinishing.
Paint Techniques for Vintage Wood Pieces
Whilst selecting the right paint technique can seem daunting, transforming vintage wood furniture needn't be complicated.
Let's examine some timeless approaches that will bring new life to your cherished pieces.
Colour layering creates depth and character, allowing you to build rich, dimensional finishes that honour your furniture's history.
You'll find that distressed finishes work particularly well on vintage wood, highlighting the natural wear patterns that make each piece unique.
For beautiful results, follow these essential steps:
- Apply a base coat in your chosen colour, letting it dry completely
- Add a second colour on top, focusing on areas that naturally show wear
- Sand strategic spots to reveal hints of the base coat, creating an authentic aged appearance
Remember to work slowly and deliberately – you can always distress more, but you can't undo too much wear.
Restoring Metal Hardware and Fixtures
Metal hardware often holds the key to a vintage piece's authentic character, yet years of tarnish, paint, or corrosion can mask its original beauty.
One ought to assess whether patina preservation is desirable, as some aged finishes actually enhance one's piece's historical value and charm.
For cleaning, begin with the gentlest method possible – warm, soapy water and a soft cloth.
If dealing with stubborn grime, try a mixture of bicarbonate of soda and water to form a mild abrasive paste.
When considering fixture replacement, always save original pieces, even if damaged, as they're valuable references for finding period-appropriate alternatives.
Don't forget to protect restored hardware with a clear coating or wax.
This extra step prevents future oxidation whilst maintaining the metal's natural lustre and ensuring your restoration work lasts for years to come.
Reupholstering Basics for Old Chairs
Before diving into a reupholstery project, you'll need to carefully assess your chair's condition and gather essential supplies like fabric, foam, wadding, webbing, and appropriate tools.
Different chair styles require specific approaches, so take time to understand your piece's construction before beginning.
Fabric selection is vital for both aesthetics and durability. Choose upholstery-grade materials that complement your home's décor whilst standing up to daily use.
When you're ready to start, follow these key steps:
- Remove old fabric carefully, documenting each layer's placement with photographs.
- Repair or replace damaged frame components, springs, and webbing.
- Layer your new materials: webbing first, then foam, wadding, and finally your chosen fabric.
Work slowly and methodically, keeping tension even as you staple each new layer in place.
Reviving Vintage Kitchen Items
Since many vintage kitchen items were built to last, restoring them can breathe new life into treasures that have served generations of home cooks.
You'll find that proper vintage kitchenware care begins with gentle cleaning using warm, soapy water and a soft cloth. For stubborn rust on antique cooking utensils, try soaking them in equal parts vinegar and water before scrubbing with wire wool.
Cast iron pieces need special attention – strip away old seasoning with oven cleaner, then re-season with multiple layers of cooking oil.
Wooden handles and chopping boards respond well to mineral oil treatments, which prevent splitting and drying.
Don't forget to check for loose handles or cracks that may need repair. With patience and care, you'll discover these kitchen classics still have plenty of tales to tell.
Creative Ways to Display Your Restored Treasures
Once you've brought your vintage kitchen items back to their former glory, displaying them thoughtfully can transform them from functional tools into striking decorative elements.
Consider these creative arrangements that will bring character to your space whilst showcasing your restored pieces.
- Group items by colour or material, creating an eye-catching collection on open shelving – copper pots and pans make an especially warm statement.
- Turn practical items into wall art by mounting vintage utensils, graters, or chopping boards in an artistic pattern.
- Repurpose old kitchen scales or canisters as centrepieces, filling them with fresh herbs or seasonal flowers.
Let your display ideas reflect your personality whilst telling a story.
Mix heights, textures, and sizes to create visual interest, but remember – sometimes less is more when arranging vintage treasures.
Common Mistakes to Avoid When Refinishing
When restoring vintage household items, even experienced DIY enthusiasts can fall prey to common refinishing mistakes that compromise their pieces' authenticity and value. One should be particularly mindful of over-sanding mistakes that can erase cherished patina and character marks, whilst improper sealing can lead to long-term damage.
| Common Mistake | How to Avoid It |
|---|---|
| Over-sanding | Use light pressure, work gradually |
| Wrong products | Research era-appropriate materials |
| Rushing prep work | Clean thoroughly before starting |
| Improper sealing | Apply correct sealant for material |
| Skipping tests | Sample in hidden spot first |
Remember that each vintage piece tells a story through its wear patterns and original finish. By taking time and respecting these historical markers, one shall preserve both the item's charm and its value for future generations.
Frequently asked questions
Where Can I Find Authentic Vintage Pieces at Reasonable Prices?
Local estate sales offer authentic vintage treasures, where families part with cherished pieces. One mustn't overlook charity shop finds – some of the finest discoveries occur whilst browsing these budget-friendly establishments.
How Do I Determine the Actual Age of a Vintage Item?
Examine maker's marks, study construction methods and scrutinise age indicators such as patina, wear patterns and original fittings to discover an item's true age. Compare with similar pieces through thorough research. Look closely at the object's hallmarks, manufacturer's stamps and other identifying features to establish its authenticity and age range. Whilst American pieces may utilise different indicators, British and European items often feature distinctive period-specific characteristics worth noting.
Will Restoration Decrease My Vintage Item's Value for Future Resale?
Skilled restoration can enhance your piece's resale value, whilst poor-quality work shall decrease it. For the most favourable impact, focus on gentle cleaning and stabilisation rather than complete overhauls.
Are There Specific Insurance Considerations for Valuable Restored Vintage Pieces?
Specialised collectibles insurance ought to be considered to protect one's restored treasures against damage, theft and loss during transport. One should secure proper documentation of the piece's value through a formal appraisal process before seeking insurance coverage.
Can I Mix Vintage Pieces With Modern Furniture Successfully?
Mixing vintage and modern pieces can create marvellous spaces! Focus on style balance and colour coordination to unite different eras. Trust your eye – when pieces speak to you, they'll naturally work together.